
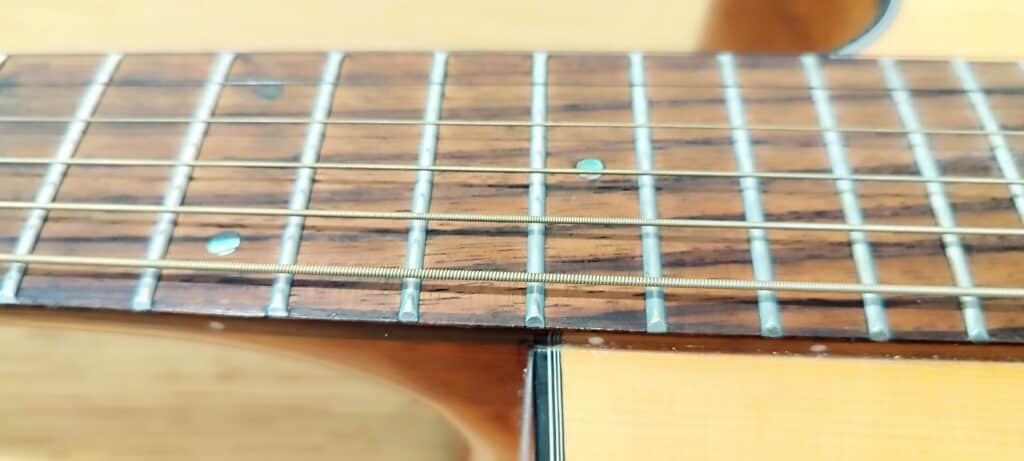
Every once in a while, we get to a point where just cleaning the guitar strings is not enough and we need to change them. Maybe it’s because they sound dull, and maybe it’s because they don’t stay in tune as they used to. No matter the reason, today we’ll learn how to restring (or change the strings) of an acoustic guitar.

Restringing an acoustic guitar is not hard, but there are some things that you want to get right on your first try, so that’s why I wrote this guide.
Table of Contents
What Do You Need to Resting an Acoustic Guitar?
There are 2 things you actually need to restring an acoustic, and another one that is not required but is recommended.
The things you need are a bridge pin puller and a string cutter. The bridge pin puller helps to remove the bridge pins from the bridge, and the cutter is useful to cut the excess of the strings from the headstock.
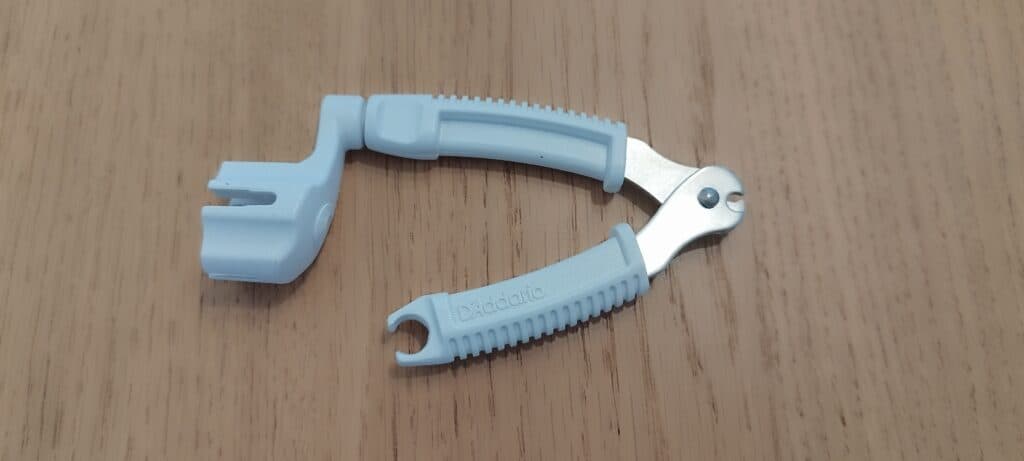
A string winder, on the other hand, is not required but will make your life a lot easier.
I’m using this tool by D’Addario, which has all three combined and costs about $10. There are cheaper ones, too, if you want.
How To Restring An Acoustic Guitar?
How to restring an acoustic guitar? Contrary to common belief, when restringing an acoustic guitar we don’t want to simply remove all the strings and then replace them. The neck of an acoustic guitar has tension from the strings pulling on it. If we remove all the strings at once, the relief from the stress can cause warping of the neck. Besides, it makes it much harder to get back in tune, because we are left without a good starting point for tuning the new strings.
By removing and replacing the old strings one at a time, alternating from Low to High, we keep fairly even tension on the neck and are able to tune each new string as we go. Keeping the guitar as a whole in tune.
Now that the fundamentals of restringing an acoustic guitar have been covered, we are ready to begin restringing the guitar.
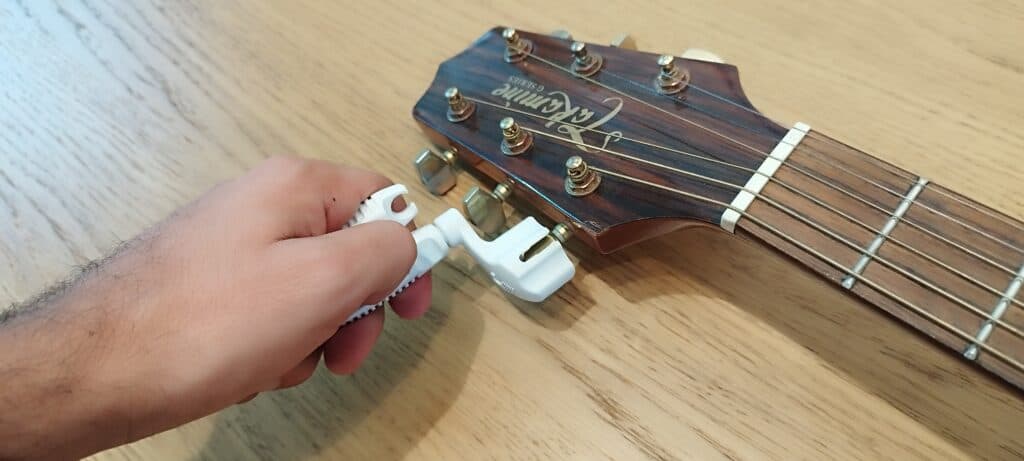
#1: Unwind the Low E string
Start by unwinding the low E string (the thickest string) from the machine head (or tuner). Keep turning the machine head in a clockwise direction to loosen or detune until you can easily remove the string.
#2: Remove The String
Remove the string from the machine head’s hole and pull the string through the eye hole in the bridge that the string runs through, removing the string from the guitar.
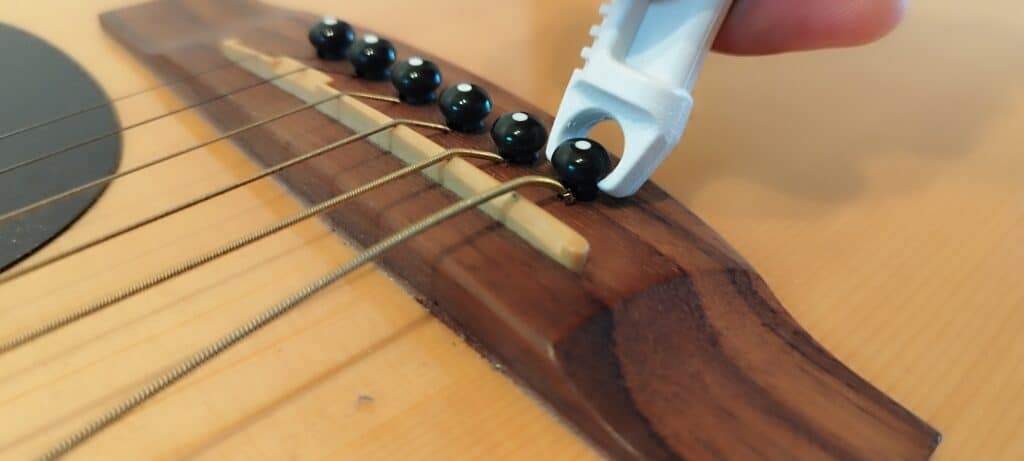
To remove the string from the bridge, using the puller, carefully take the bridge pin out. If it feels stuck, don’t force it. Wiggle it gently while pushing the string inside.
#3: Wind The String Into A Circle
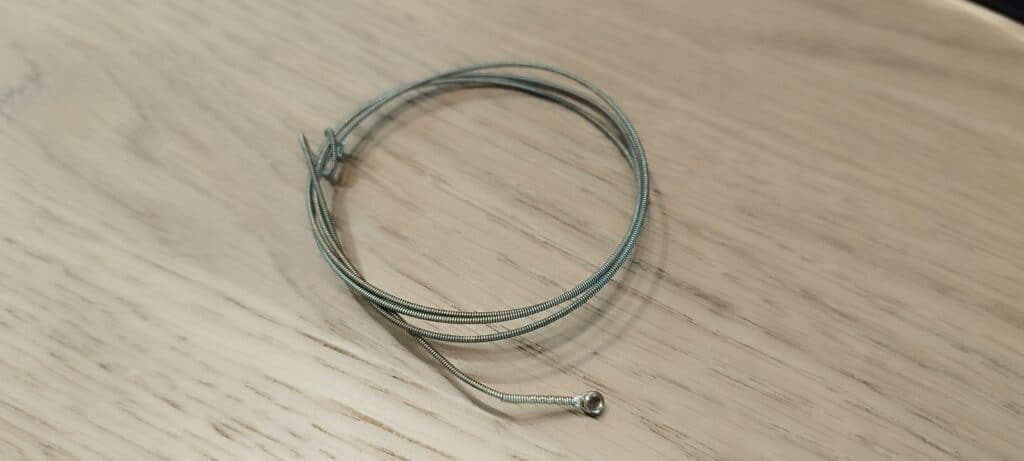
Guitar strings are quite sharp. To prevent getting hurt, wind the string into a circle, wrapping the last six inches or so around itself to hold shape. The end result should look similar to the way new strings look.
#4: Take The New Low E String Out Of The Package
Avoid pulling them all out together so you can keep track of which each string is. Now, take the low E string out and uncurl it so it becomes straight.
#5: Place the old Low E string in the package
Take the old string you pulled out of the guitar and put it in the new string package (don’t throw it out yet, there’s something great you can do with it, which I explain in the end of the guide).
#6: Thread the Needle Point End of the New String Into The Peg Pole Hole
Thread the needle end of the string through the little hole in the machine head. That’s the same hole you pulled the old string out of. Take the other end of the string and place it in the bridge hole. Then, secure it with the bridge pin. When the string is properly placed, pull about 1.5-2 inches of string from the needle hole towards the neck. This is the step where you can tie a luthier’s knot to improve your tuning stability.
#7: Start Winding the String
Start winding the string with the machine head in a counter-clockwise direction. You can use a string winder to ease and speed things up, but it isn’t necessary. Keep going until the string is tight.
#8: Tune the Low E string
Tune the low E string to pitch. A method used to help with stable tuning is to pull and bend the strings.
#9: Repeat the restringing process
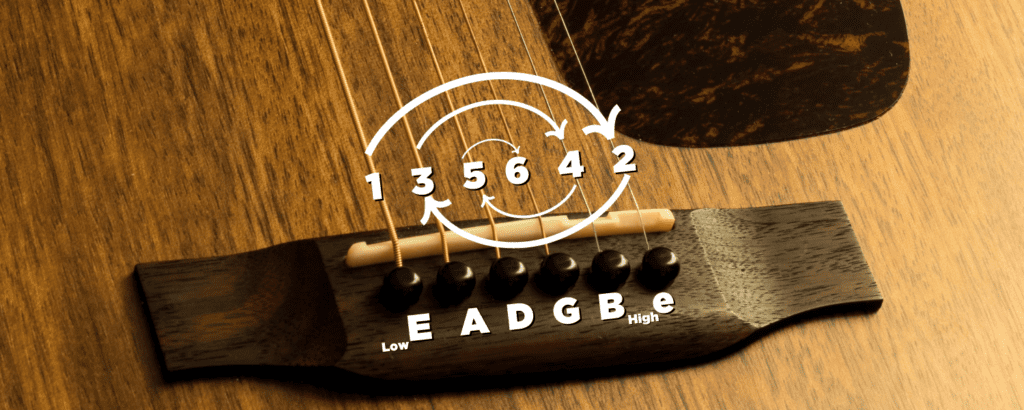
Repeat the steps for every string, but do it in that order:
- Low E
- High E
- A
- B
- D
- G
This will keep the neck tension as balanced as possible.

#10: Tune Your Guitar Again
After you tuned each string when you strung them, you need to tune them again. There are two reasons why they didn’t hold their tuning:
- New strings needs some time to keep their tunings
- When we removed and added strings the tension of the neck changed, causing it to bend a bit.
If you need some help with tuning your guitar, here’s a guide for that.
What To Do With The Old Strings?
Although an obvious answer could be to just throw them away, here’s something good you can do with them you might haven’t thought of
Donating Old Guitar Strings
Donating old guitar strings may sound a bit odd, but what If I told you that there’s a charity that can use your old guitar strings and make the world a better place?
Strings For Hope are based in Nashville, TN. They take used guitar strings and turn them into jewelry. They provide work for survivors of domestic violence, sex trafficking, and addiction. If you ask me, it beats the hell out of just throwing them away.
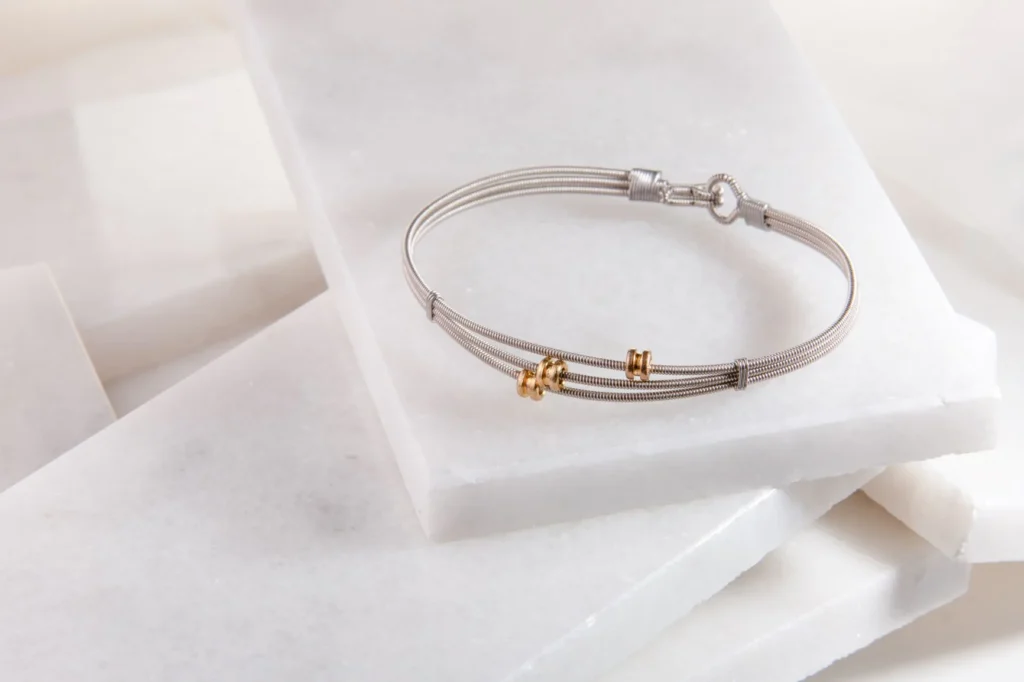
The Tri-Ferrule Bracelet is made of strings and the string rings 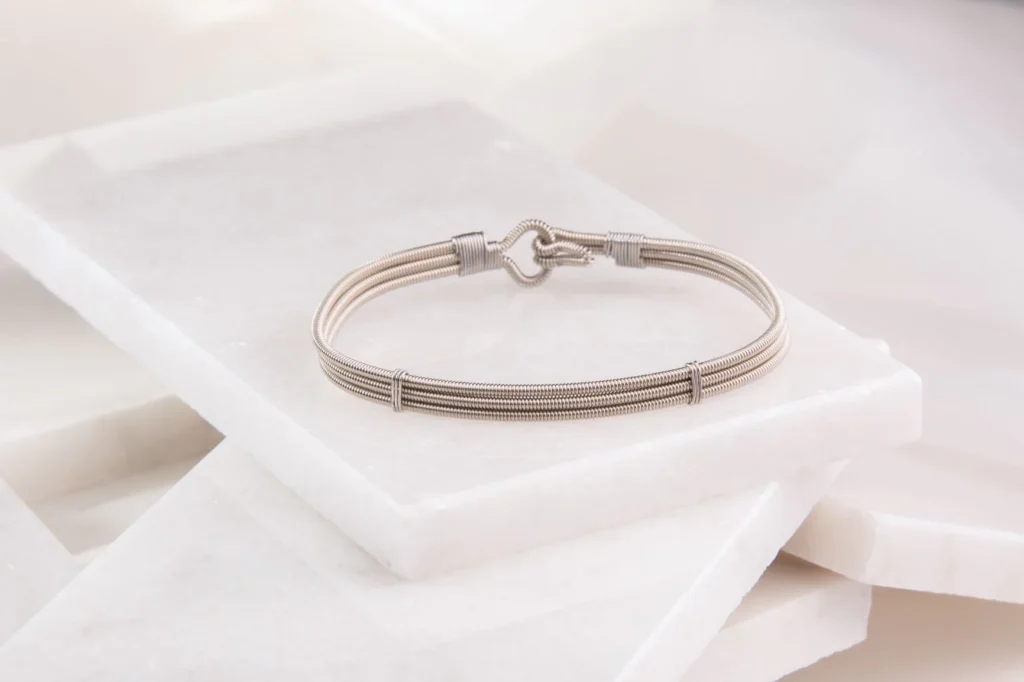
The Tri-Ferrule Bracelet is made of strings and the string rings

You can mail your old strings to 100 Taylor St. Suite C12 Nashville, TN 37208, or drop them at any one of their drop-off stations.
Conclusion
Restringing an acoustic guitar can be monotonous and a little sustained, but it really is a simple process. The more you do it, the faster it becomes. Following the method provided here will have those strings pleasantly singing their tune.