
Most of the time, when people are changing strings, they’ll just run the string through the tuning peg hole and start turning it. Even though there’s nothing essentially wrong with it, this method allows the string to slowly slip out of tune. A luthier’s knot “trick”, or why it’s so effective in keeping your guitar in tune, is that it’s actually a tie that makes the string hold itself in place.
Table of Contents
What’s Luthier’s Knot?
A luthier’s knot is a knot that helps the guitar stay in tune by preventing the string from sliding back through the tuning peg hole.

Benefits Of Luthier’s Knot Over Stringing Regularly
A luthier’s knot’s main benefit is tuning stability, and the fact that it takes about the same time as restringing without doing it makes it a no-brainer. Even though it’s mostly used on acoustics, it’s just as effective on electrics. Some think it looks more professional, too, but I don’t think it is noticeable enough to make a difference.
How To Tie A Luthier’s Knot?
A Luthier’s Knot is essentially a way to hold the string’s tune by tying it to the tuning pole. It’s something a lot of guitar players are struggling with, even though it’s quite simple to do. So grab your guitar, a new set of strings, and guitar strings winder, and let’s get to work.
What’s Needed?
Nothing special except for the things you need to change the strings of a regular acoustic or electric guitar. I’m using this string winder / cutter / bridge pin puller, but you can use any other one, too.
1. Align The Peg Hole In The Direction Of The Strings
This will make it easier to manage the string’s direction when we wrap it later.
2. Put The String Through and Stretch It
Make sure the string is properly placed in the bridge and that the bridge pic is holding it properly.
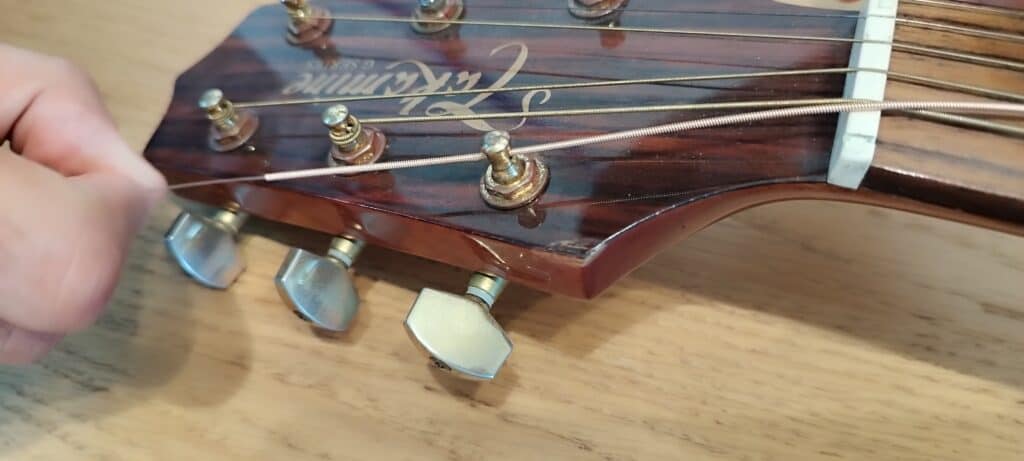
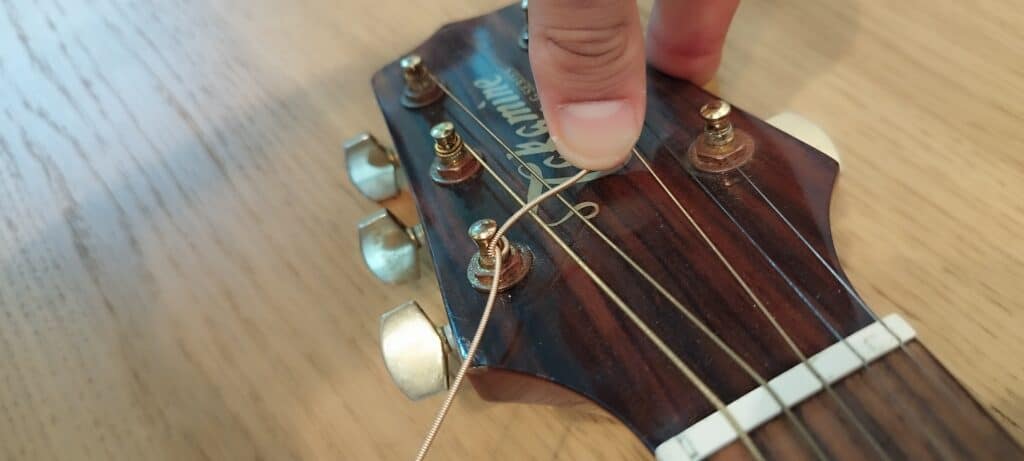
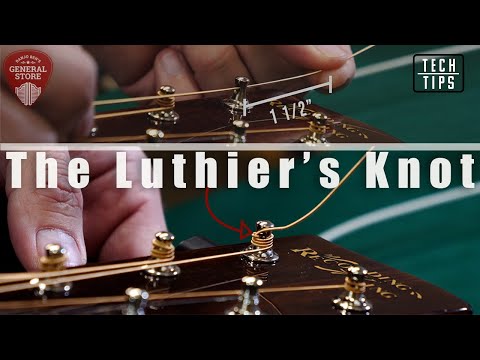
3. Take Back About an Inch and a Half
This will give us enough wiggle room to tie the knot and have a few extra turns of the string around the tuning per pole.
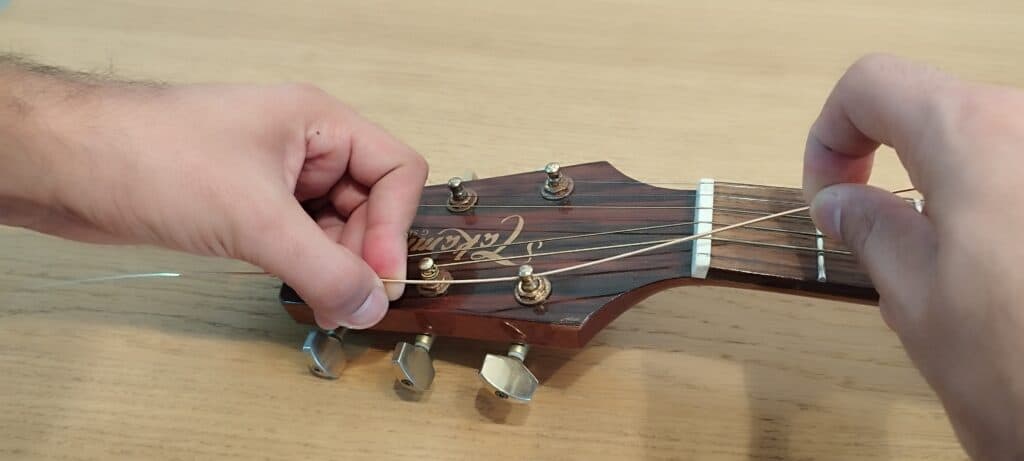
4. Wrap The Excess of the Strings Toward the Middle
No matter which side you’re doing. The excess of the strings always goes toward the center of the headstock. The low E goes left and the G string goes right.
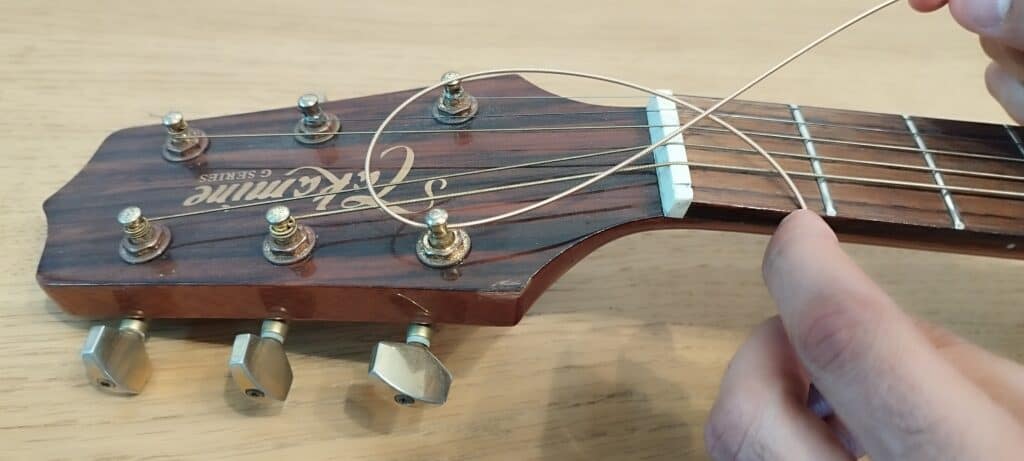
5. Pull It Back and Press Down The Excess
This is it. Pay attention to what you’re doing here because this is the knot. The excess of the string goes below the part coming from the body. Now, tighten it and fold it toward the top. Press the Excess down so it won’t move.
6. Start Winding
Using a string winder can save you some time and effort, but you can do well without it, too.
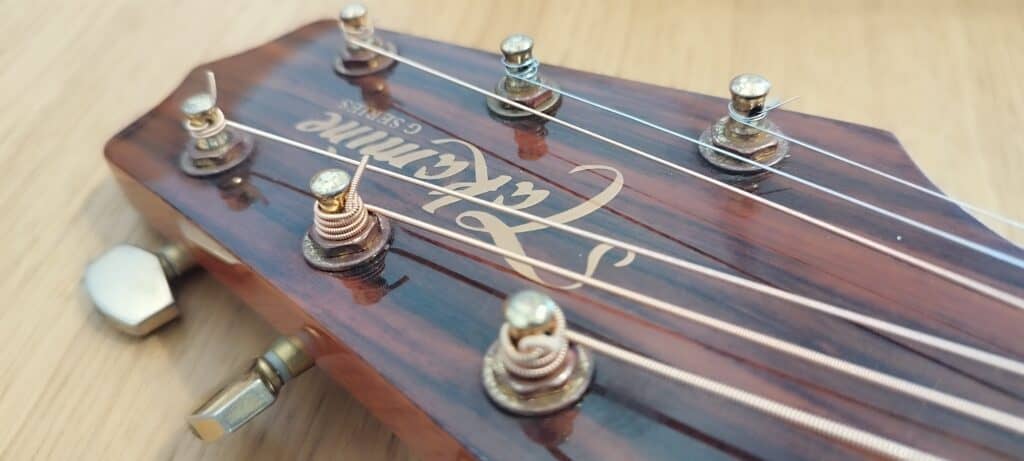
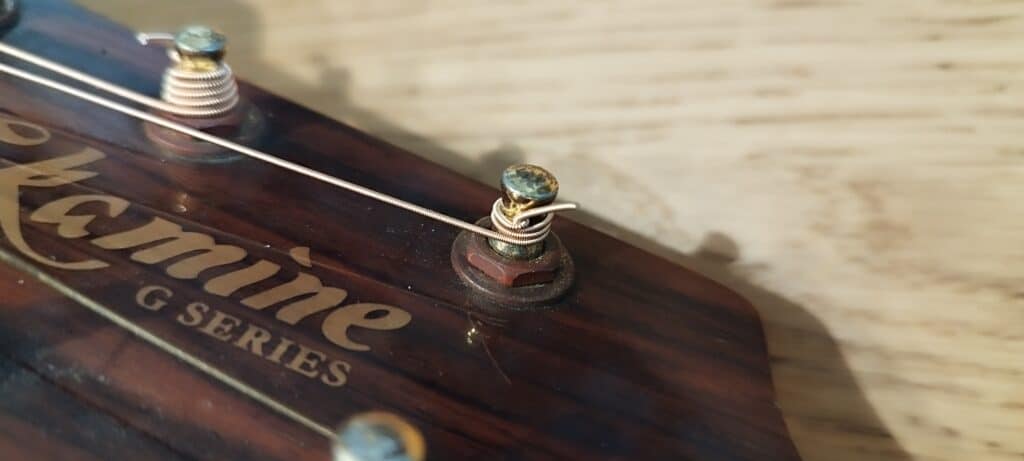
7. That’s It, Here’s Yout Luthier’s Knot
You made it! You tied your first luthier’s knot. Now just cut the excess string. Well done!
Finishing Thoughts
Tying a luthier’s knot tuned out to be a lot simpler than you thought, right? It makes perfect sense to struggle with the higher strings the first couple of times, so don’t feel bad if it’s not as smooth as the bass strings. If you’re struggling, feel free to ask questions in the comments below, or watch the video. See you next time!
-
0