If you have a guitar with a Floyd Rose or any of Ibanez’s Edge bridges, you already know that nothing about them is simple. From changing the string, tuning, or fixing the intonation. Don’t get me wrong, I love them, but they come with challenges other bridges don’t. Luckily, there’s a simple method to tune a guitar with a Floyd Rose bridge, and we’ll go over it right now. So if you just changed your strings, or just wondered if there’s an easier way to tune your guitar, this is the guide for you!
Table of Contents
The Problems with Floyd Rose Bridges
There are a few different problems guitar players may have when they own a guitar with a Floyd Rose term system. Everything from tuning stability, adjusting the action, intonation, and whatnot. It’s not that they aren’t worth it, because they are. When a Floyd Rose bridge is properly set up, it is one of the most reliable bridge systems. Even if, like me, you’re not a big fan of extreme vibratos.
Why are Floyd Rose Bridges So Hard to Tune?
Guitars with Floyd Rose bridges are hard to tune because of a thing called “tuning compensation”. Tuning compensation is the effect a single string has on the entire bridge. Whenever you retune a string, it affects the tension of the entire floating bridge. This, in turn, is changing the pitch of the other strings. If you tune one string up, it increases the pressure on the bridge, making it lean forward, lowering the pitch of the other 5 strings, and the other way around.
How to Tune a Floyd Rose Guitar?
Despite being one of the hardest bridge systems to tune, there’s a method that will make tuning Floyd Rose guitars a real breeze.
Step #1: Loosen the Nut
The locking nut is very useful in keeping the guitar’s tuning stability. But if you forget to loosen it before you start tuning your guitar, you’ll end up breaking a string.
Use an Allen wrench to loosen the nut. If you lost the one that came with your guitar, you can use a guitar multi-tool such as this one, or any of the sets you probably have lying around your house somewhere.
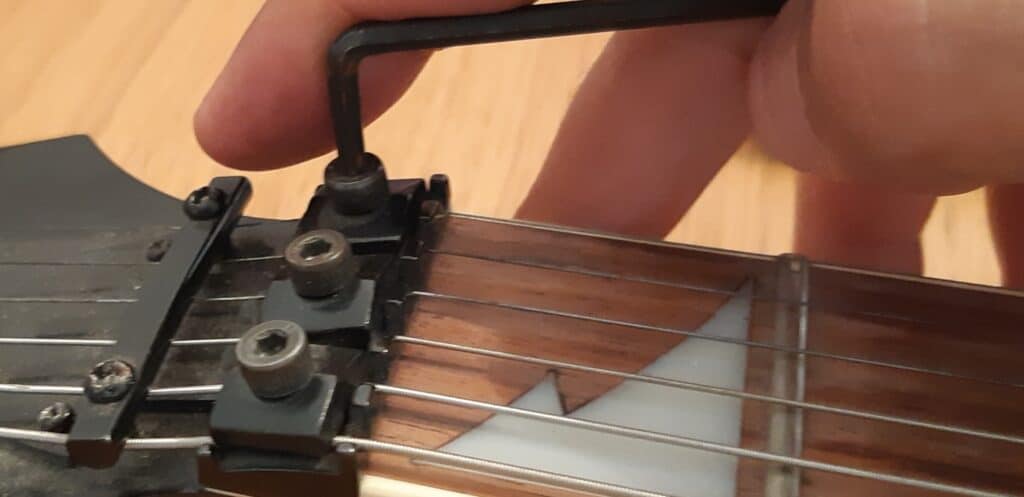
Step #2: Make Sure the Bridge is Parallel to the Body
Make your best effort to straighten the bridge, so it’s parallel to the body. Having it too tilted to one side will make it a lot harder to keep it in tune, will limit your vibrato range, and might even affect your action.
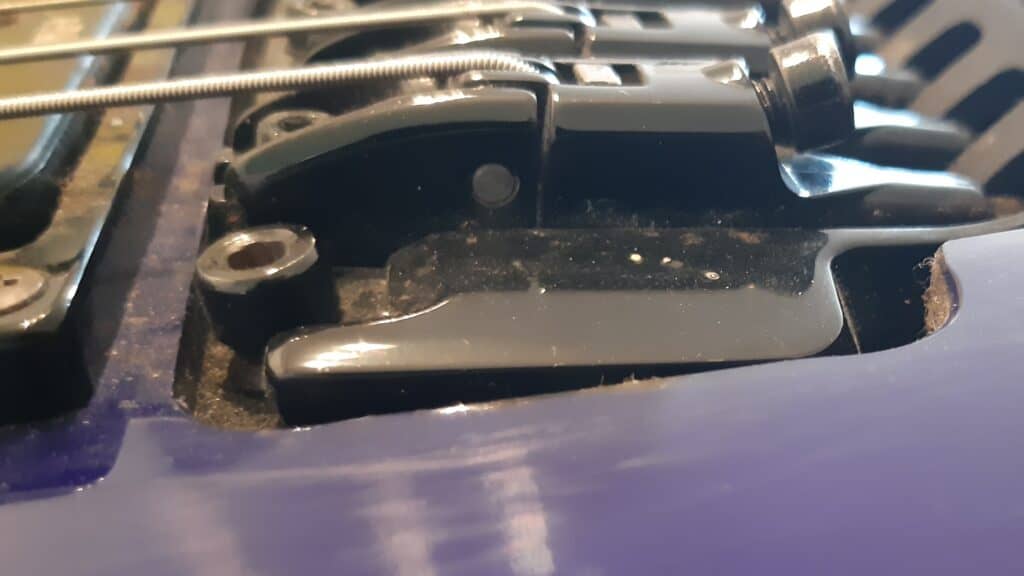
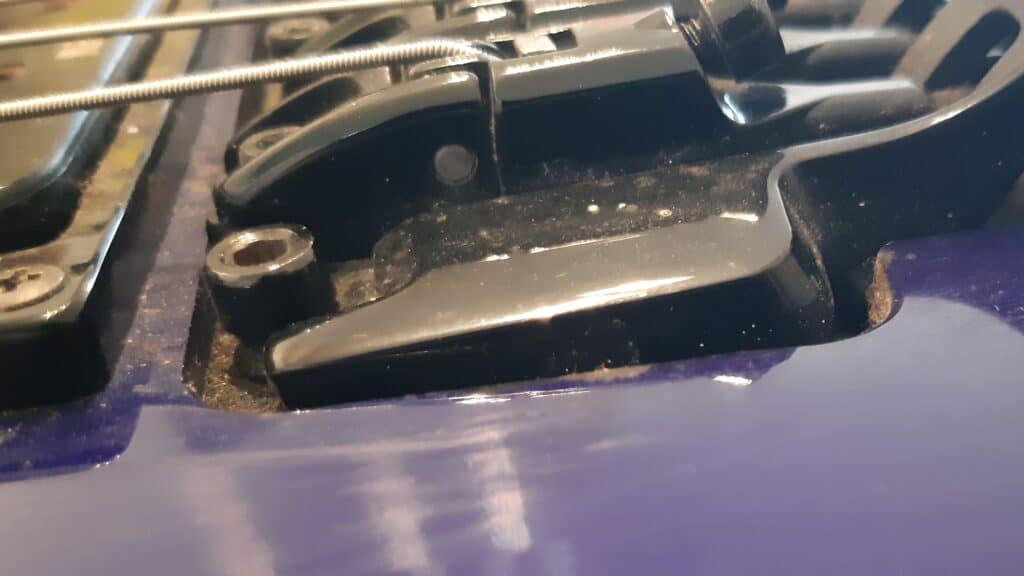
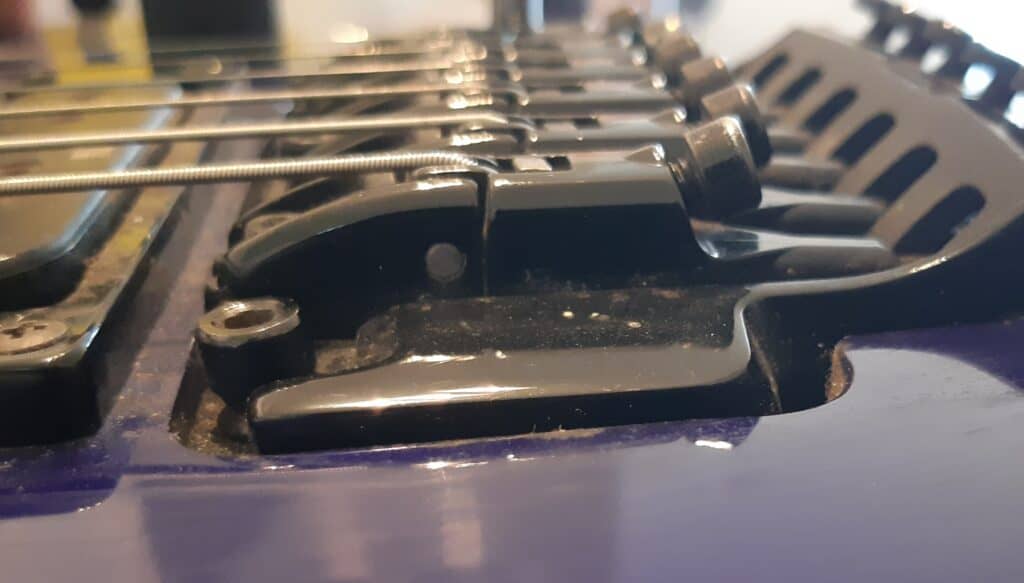
Step #3: Fix the Bridge to its Place
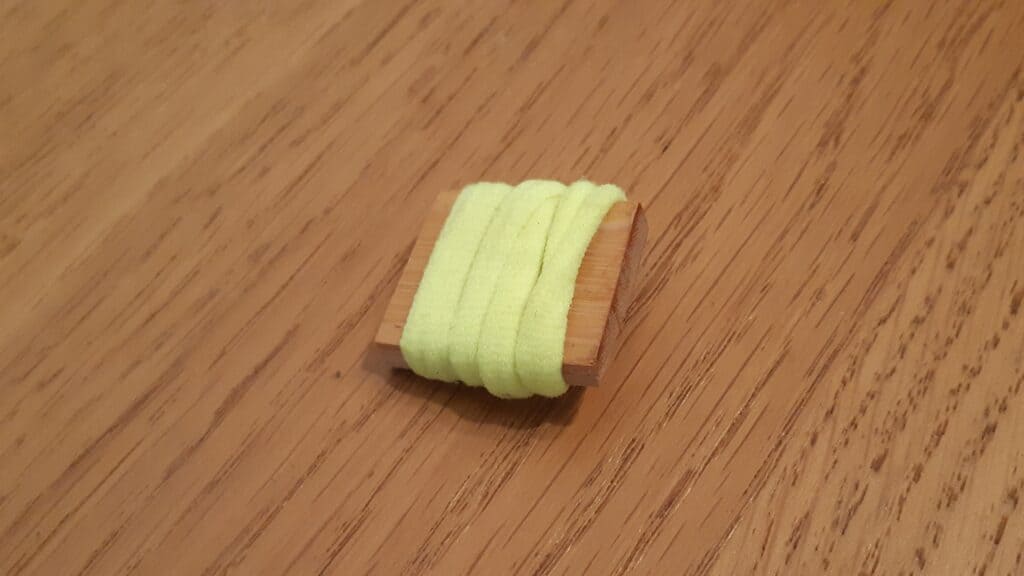
This will make or break this tuning method. It’s not that you won’t be able to tune it, it will just take a lot longer than it should. Take a piece of wood, a battery, or part of a pen or pencil and wrap some electrical tape around it until its thickness is exactly as it should be to keep the bridge as parallel to the body as possible. It would be a wise idea to make this leveler out of something you don’t need, and to keep it in your case for future use.
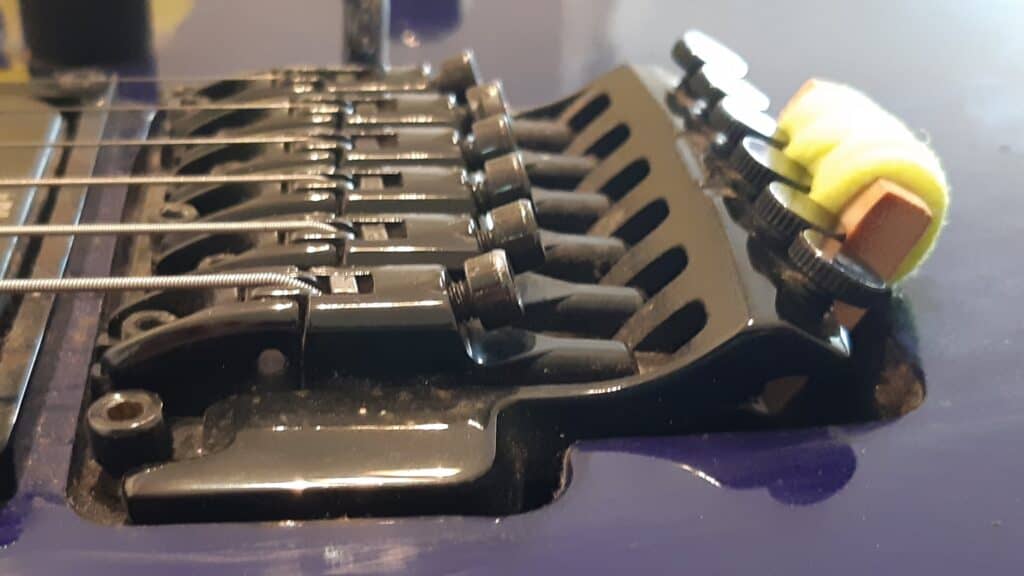
I made this little piece of wood and wrapped it in a rubber band I stole from my daughter. She will never know how much she helped me keep my guitars in tune. I keep it in my guitar case.
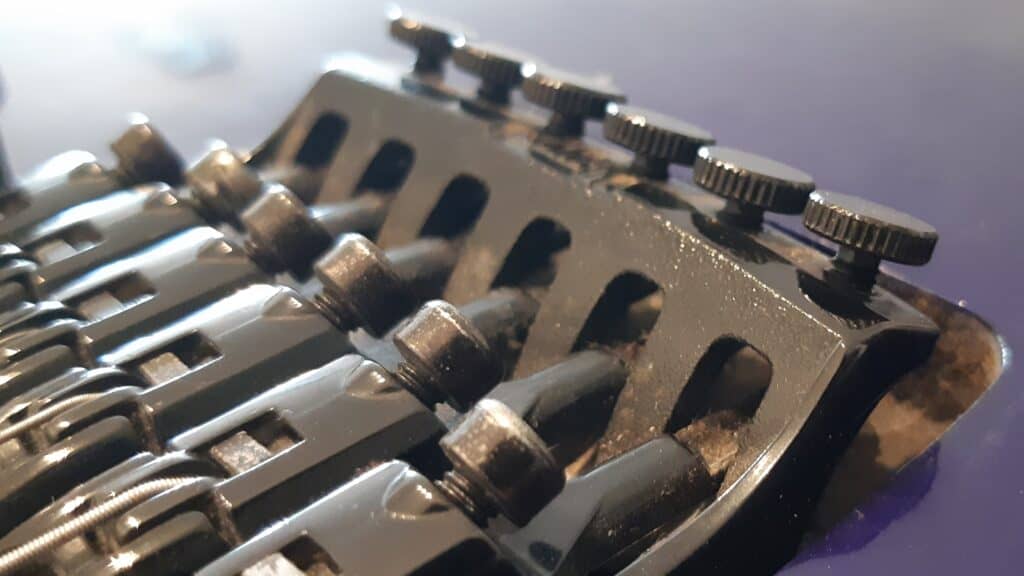
Step #4: Adjust the Fine Tuners Toward the Middle
This is not required, but by having them around the middle you get the biggest range out of them. This ensures that they can help you reach the correct pitch when you’re close enough.
Step #5: Start Tuning
Start tuning your guitar, but instead of going over the strings by their order, tune them in this order:
- 3rd string: G
- 4th string: D
- 2nd string: B
- 5th string: A
- 1st string: e
- 6th string: E
This will help maintain constant pressure over the bridge. This, in turn, will help minimize the effect of changes in pressure on the pitch of the strings. If you strum your guitar now, you’ll see that it’s out of tune. It’s normal, so don’t worry too much about it.
Step #6: Remove What Kept The Bridge From Moving
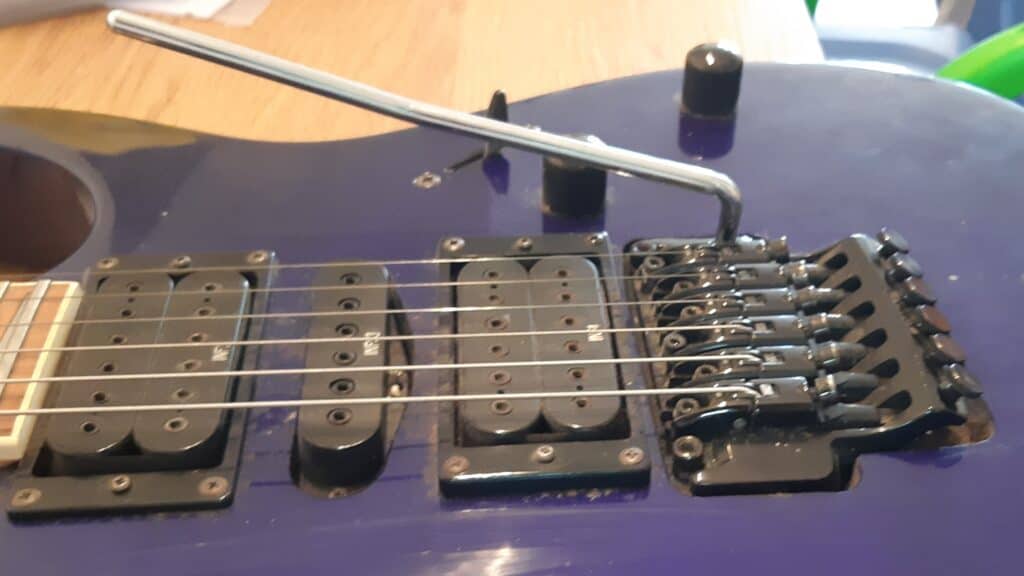
Remove the battery, pen, or pencil you stuck under the bridge to keep it leveled. The strings should be able to keep the bridge straight on their own at this point.
Step #7: Retune and Over Compensate
Retune the strings, from low to high, but instead of aiming to hit the perfect note, over-tune it by the same amount it was out of tune now. If it was 20 cents flat, tune it to be 20 cents sharp, etc. keep going until you are done. You’ll see that as you move towards the 1st string, you have to retune the strings less and less.
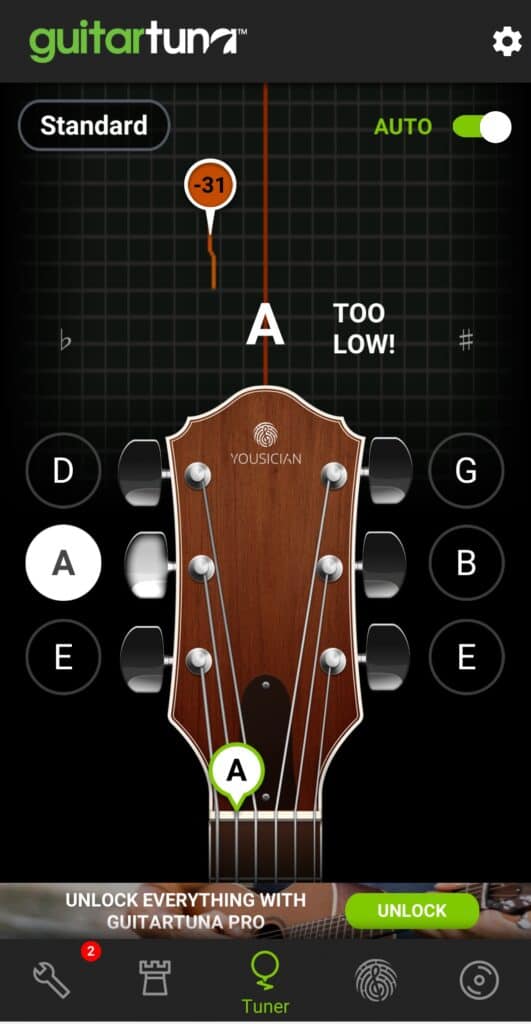
By the time we reached the highest string, it’s pretty much in perfect tune.
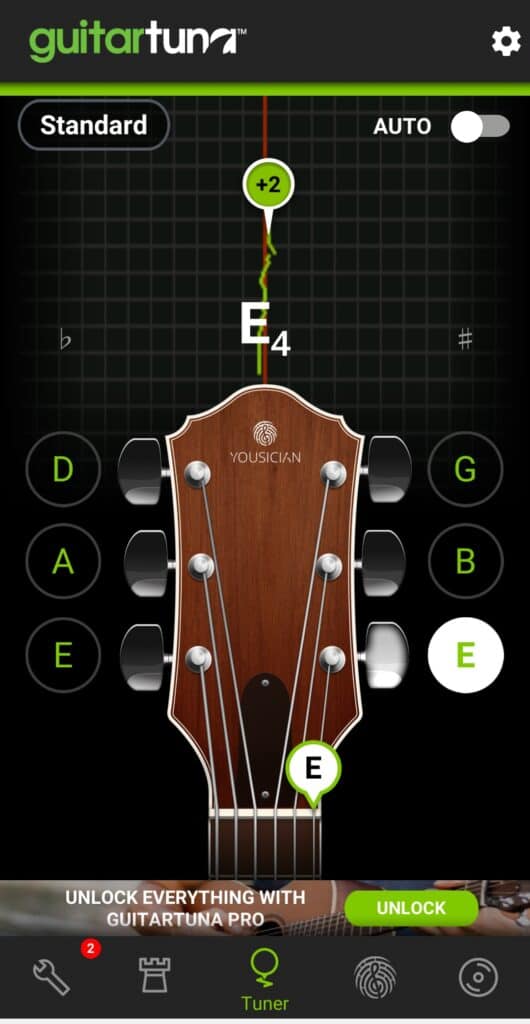
Step #8: Re-lock the Numt and Fine Tune
Now that the strings are fairly tuned (or even in perfect tune), lock the nut again. Don’t over-tighten it. Don’t worry if locking the nut slightly changed the pitch, they should be close enough to the target note so the fine-tuners can take it all the way. Work again with your tuner, but this time adjust the fine tuner instead of the guitar’s machine head.
You are now in perfect tune, and it shouldn’t have taken more than 5-6 minutes from start to finish.
Finishing Thoughts
You’re done. It should’ve taken you about 10-15 minutes if you kept reading while tuning. The next time would be a lot shorter and the following one won’t take more than 5 minutes, especially if you kept the “bridge leveler” you made in the 3rd step.
I hope you find this guide useful. Let me know in the comment if you have more tips for tuning Floyd Rose bridges.
At what step do you re-lock the nut?
Right after you’re done. Just make sure to not over-tighten it. If the pitch changes a bit, use the fine tuners to get back.