How to record an acoustic guitar? That’s a tough question. If you’re trying to get a home recording studio up and running, chances are pretty decent that you’ve already tried to record an acoustic guitar once or twice. You might have been surprised by how lifeless a sound you got. Or maybe you’re just looking for some other techniques to try to get that elusive “studio sound”.
There’s no magical answer because different acoustic guitars behave differently. But there are several techniques that many studios use to get a decent quality acoustic sound. Before you start, make sure your guitar sounds good on its own, because a poor-sounding guitar will never sound as good as a well sounding one, no matter how many recording and mixing tricks you’ll add.

Table of Contents
Different Methods for Recording an Acoustic Guitar
There are many different methods
Method #1: Recording An Acoustic Guitar Using The XY Technique
This is one of the most common ways to record an acoustic guitar. The XY technique is, pretty simply, crossing the paths of two microphones (usually a Shure SM57 or similar cardioid mic) so that their heads are right next to each other but at an angle from 45 to 90 degrees. You’ll want to use a good-quality dynamic or condenser cardioid microphone. Ideally a matched pair (two microphones of the same model that have been optimized for use with each other). This cuts down on phase cancellation and makes the microphones sound better after panning.
Method #2: How To Record Acoustic Guitar Using Spaced Pair
Phase cancellation is an audio problem that results from sound hitting two microphones at slightly different times when they’re recording the same audio source. It’s unpleasant to hear, and it needs to be avoided. The trouble is that modern microphones are very different from one another, even if they’re the same model and make. In order to really capture a stereo recording of an acoustic guitar without dealing with nightmarish phasing, you’ve got to either use phase correction software (many modern programs like Adobe Audition and Pro Tools can do this), or, better yet, use what’s called a hand-matched pair of mics. These mics are tested at the factory to ensure that they hear sound the same way, and will process it at the same time when placed the same distance from your sound source.
So, plan on looking for a hand-matched pair of condenser microphones that can pick up a guitar fairly well, if you can afford it. If you can’t, then at least use the same make and model of microphone, as the difference from mic to mic is likely less than it would be from one brand or model to another.
To record an acoustic guitar with a matched pair, recording engineers usually use the 3:1rule. This is a simple rule that basically means that your microphones should be at least 3 times the distance from each other as they are from the sound source. You’ll want the microphones about a foot to a foot and a half (depending on the mic) away from the guitar. With one pointed at the 12th fret and the other microphone pointing right below the pegs of the acoustic. Pan each microphone 30 to 45 percent in either direction.
Method #3: Using a Large Diaphragm Condenser
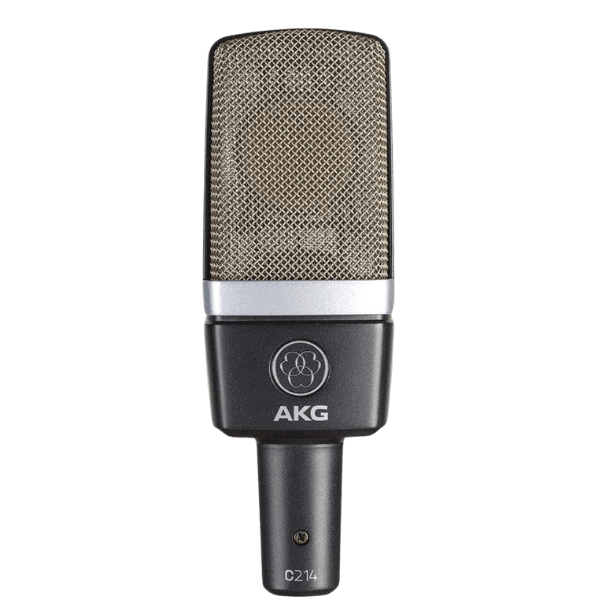
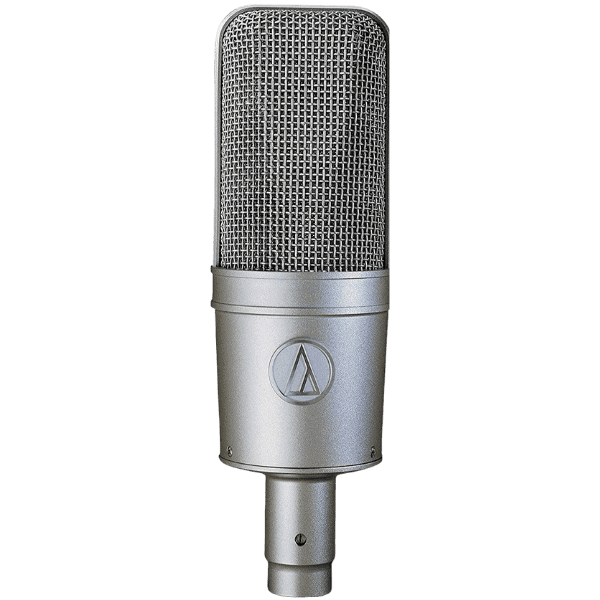
Large-diaphragm condenser microphones (such as AKG C214, Audio Technica AT4047/SV, or my personal favorite: Audio Technica AT4050) can be great to record an acoustic guitar if used properly. You can simply set up the microphone a couple of feet in front of your guitar and begin recording. But as I mentioned earlier, truly excellent acoustic guitar sound comes from stereo miking. You could double the signal, pan the two signals, and EQ them differently. But you may find it easier to point a dynamic cardioid at the soundhole, slightly towards the fretboard. Then, put the condenser at about ear level pointing down. And when I say “ear level”, I mean “right next to your ear”. This can get a really intimate sound as if the listener is the performer, and that’s the sound we’ve always been looking for from an acoustic guitar.
When recording, experimentation is key. You’ll never get an idea of what miking techniques work on the guitar that you’re recording otherwise. One constant, though; keep the microphones the same distance from the guitar. If one is farther, you’ll have issues to correct in the mixing process.

AKG C214 Audio Technica AT4047SV Audio Technica AT4050

Alternately, you can put the large-diaphragm microphone in front of the soundhole. Then put the other microphone at the 12th fret. Regardless, you’ll be doing a little less panning than with the other two methods, but be sure your signal sounds open and wide. The exception to this is if you’re recording acoustic guitar with a band or drum machine; in those situations, you may want to confine the acoustic to a smaller area, depending on the song.
Panning
After you’re done recording (assuming you really used 2 mics), you ended up having 2 different channels. Your first instinct may be to hard-pan each to a different side, to ensure the widest stereo image. You’ll quickly find that what you gain in a wider stereo image, you lose in punch.
Don’t hard pan the microphones to either side of your stereo recording. The acoustic guitar will sound best with the mics panned to somewhere between 40% and 75% to each direction, and you’ll get a nice, unique stereo sound. Be sure to correct for any phase cancellation that occurred, and then add a touch a reverb and listen to your track. Doesn’t your acoustic guitar sound nice?
Conclusion
Every recording method has its own advantages and disadvantages. The annoying truth is that, like with anything else, good recordings take a lot of practice. Try monitoring a guitar a friend is playing. Move around the microphones a little until you find the sound you want. Messing with effects, panning, compression, and EQ, and constantly comparing the sound you’re getting to the sound on classic recordings. With enough practice, you can find the perfect technique to record your acoustic guitar.
Don’t forget that the guitar is not alone in the song. Even if it sounds great, it still needs to work well with other instruments in the track. Make sure to leave enough room for other instruments. Your bass track, for example, will need some headroom, even if it’s compressed properly.
If you liked this post, make sure to check out other posts from our recording and mixing category.